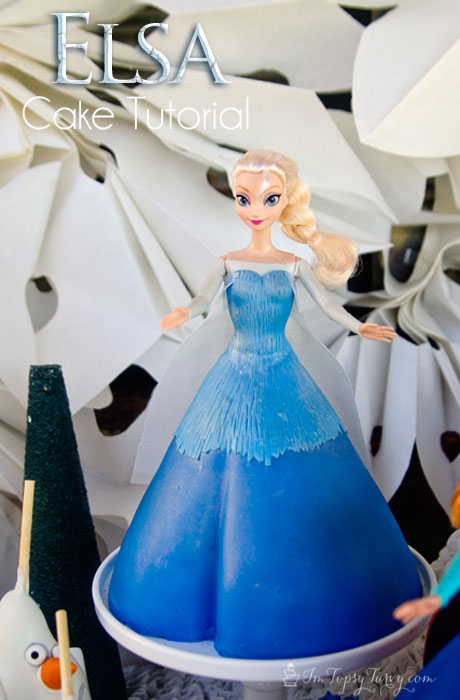
I made this Elsa doll cake for my niece who absolutely loves Frozen.
I was looking to replicate the scene where she sings "Let it Go" so I
knew that the traditional doll cake wasn't going to work, which is why I
decided to try this peeking-leg-style cake. I found that it was a
pretty forgiving design, since the fondant is layered.
A couple of days prior to making the cake, I made the top part of Elsa's
dress so that it would have time to harden before I had to handle it.
I started by taping her legs in the position that I wanted them (one
foot in front of the other) so that she wouldn't move while the top part
of the dress was drying. To make the top part of her dress, I rolled
out some dark teal fondant and cut one side with a pizza cutter so that
it had a straight edge. One thing that isn't really noticeable in the
final pictures of this cake is that there are actually two different
shades of teal in this dress - dark teal for the top/middle, and light
teal for the middle/bottom.

Then I
brushed the top half of her body with a little bit of water and wrapped
the fondant around her with the straight edge up and the uneven edge
down. I used a sharp knife to cut away the excess in the back where it
overlapped, and then I cut the uneven edge off of the bottom. I used my
thumb to smooth out the seam as best as I could. Then I cut a small,
rounded "V" in the front of her dress on her chest. The good news is
that she has arms so she was able hold herself up while the top of her
dress dried. :-)
I used my
clay extruder to make a thin strip of light teal fondant to go around
the top edge of the dress and attached it with a little bit of water.
Lastly, I brushed on a little bit of luster dust (my favorite!) and I left her to dry on the counter for a couple of days.

The other piece that I made in advance was the cake board. I
decided that I wanted to decorate this cake directly on the cake board,
which would have been difficult if I had used a fondant-covered cake
board. So instead of covering my cake board with fondant, I stacked
three white 12-inch cardboard cake circles and covered them with a layer
of sheer, sparkly teal fabric. Then I glued ribbon around the edge and
covered the whole board with clear contact paper. This made the board
really easy to clean. (It also worked out really well in the end
because my niece asked if she could keep it to use it as a dance floor
for her dolls.) :-)
To make the cake, I used the Wilton Doll Pan and an eight-inch round
pan. When the layers were cool, I leveled them, filled them with
frosting, and stacked them. I ended up cutting the doll pan layer in
half (horizontally) so that I could add an extra layer of frosting.
Then I cut a notch in the front of the cake where the doll would later
stand. I didn't take measurements to see how tall the cake was, but it
came up to the middle of the doll's thigh.

Next, I
smoothed out the sharp angles (from where I had just removed the chunk
of cake) with a serrated knife. I used most of the parts that I had cut
to fill in the back of the dress. I attached these scrap pieces to the
cake with chocolate frosting. Here are side and top view photos of the
cake at this point (along with a huge mess of cake scraps!).
Once I
finished attaching the scrap pieces, I covered the cake with a crumb
coating of vanilla frosting and covered it with light teal fondant.
Then I cleaned up the cake board... The great thing about using cake
boards that are covered with contact paper is that they are super easy
to clean!


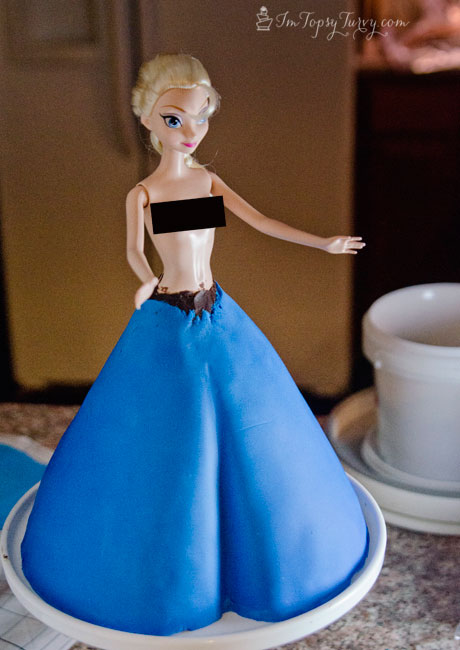
Next, I
attached the doll to the cake. To do this, I wrapped a wire around one
of her legs and twisted it together in the back, leaving about three
inches of wire protruding from the back. Then I wrapped the wire with
white electrical tape and pushed it downward into the cake so that her
leg was in the notch that I had cut into the cake. I used a strip of
fondant (brushed with piping gel) to hold her back foot in place and I
adjusted her legs to be in the position that I wanted them
(unfortunately this doll came with non-bendable knees). Adjusting her
legs caused some of the top part of her dress to break off where her
legs met her torso (as you can see in the picture below) but I ended up
covering this part later, so it really didn't matter.
I also added a clump of fondant onto the back of the cake so that the dress would have a more gradual flow.

And now, the
fun part! The remainder of the cake is all about layering strips of
fondant. It's my favorite part because it is what gives the illusion of
movement (a very important component to capture this dramatic scene of
the movie) AND there is lots of room for error. I didn't measure any of
the strips of fondant that I used for this. Instead, I just rolled out
each strip, pleated it, attached it to the cake with piping gel, and
then trimmed the bottom to my desired length. I started by attaching a
strip behind the knee of the front leg, bringing it out from behind her
leg and then pulling it toward the back of the cake (so that it looks
like the wind is blowing her dress back as she walks). Then I added a
diagonal strip starting from her left hip (our right), covering most of
her front leg and all of her back leg/foot, and then sweeping back.
It's difficult to describe, but it's pretty simple. Hopefully the
picture will make sense:

This part ended up cracking when I was moving the cake, so I had to try to add in another piece later on. :-(
Once I put
these initial pieces on the front, I started working on the back and the
sides of the dress. For each of these pieces, I rolled out a strip of
fondant (again, no measurement needed) and curved the sides with my
fingers to give it a rippled effect. Then I pinched the top edge and
attached it to the piece of fondant just below Elsa's waist (This part
got covered later, so it didn't need to look perfect). For a couple of
the strips, I made a little bit of a crease down the center, just so
that they wouldn't all look exactly the same. Once I attached all the
strips to the side and back of the dress, I used a pizza cutter to cut
and round the ends of the strips.
This is
the only picture that I took during this stage. I added the middle
piece to the back first, then the sides, and then filled in the rest.
You can see where I initially added some white ruffles, which I later
decided to remove and replace with another strip of teal.
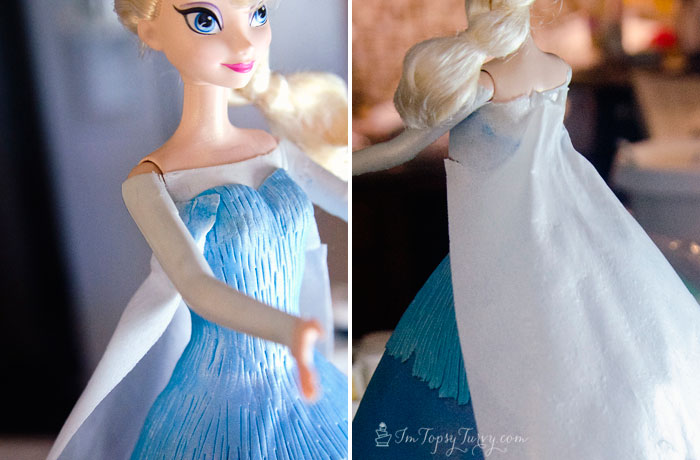
To finish
off her dress, I added three shorter dark teal strip around her waist
(this helped to cover up the spot where I attached the strips to the
back/sides of the dress). The first strip started at her right hip (our
left) and wrapped around to below her left hip. The second strip
started at her left hip and wrapped around to the back. The last strip
started in the back and wrapped around to the front/center (this is
another situation where it might just be easier to look at the picture).
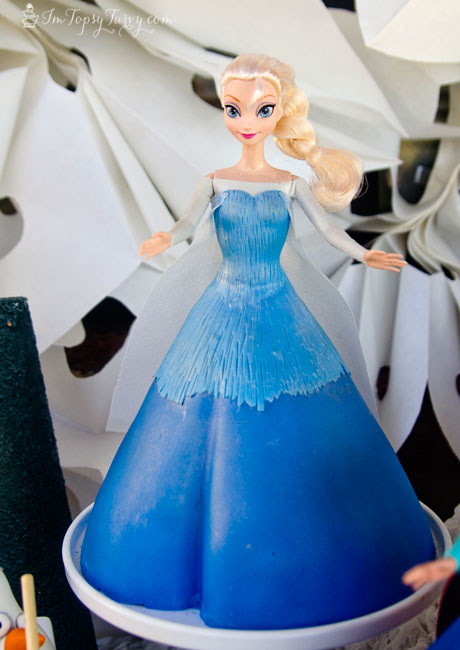
To finish the cake, I added a few fondant snowflakes, and covered the
entire cake with luster dust. I also used a small triangle of dark teal
fondant to cover the top of her exposed foot.
Let it go!
*It was
recently brought to my attention that there is an original creator of
the walking doll cake. It was not my intention to copy any particular
cake that I saw online; I was trying to replicate a particular scene
from Frozen. If you are interested in purchasing a detailed, professional tutorial for walking doll cakes, please visit the Ipoh Bakery website. Their cakes are amazing! Here are some photos of their walking doll cakes:
~* Selamat Mencuba *~


 ni la besday gegirlnya ..fren semua x enterframe plaks ..aiseyman >_<


%2Bcopy.png)


+copy.png)


